

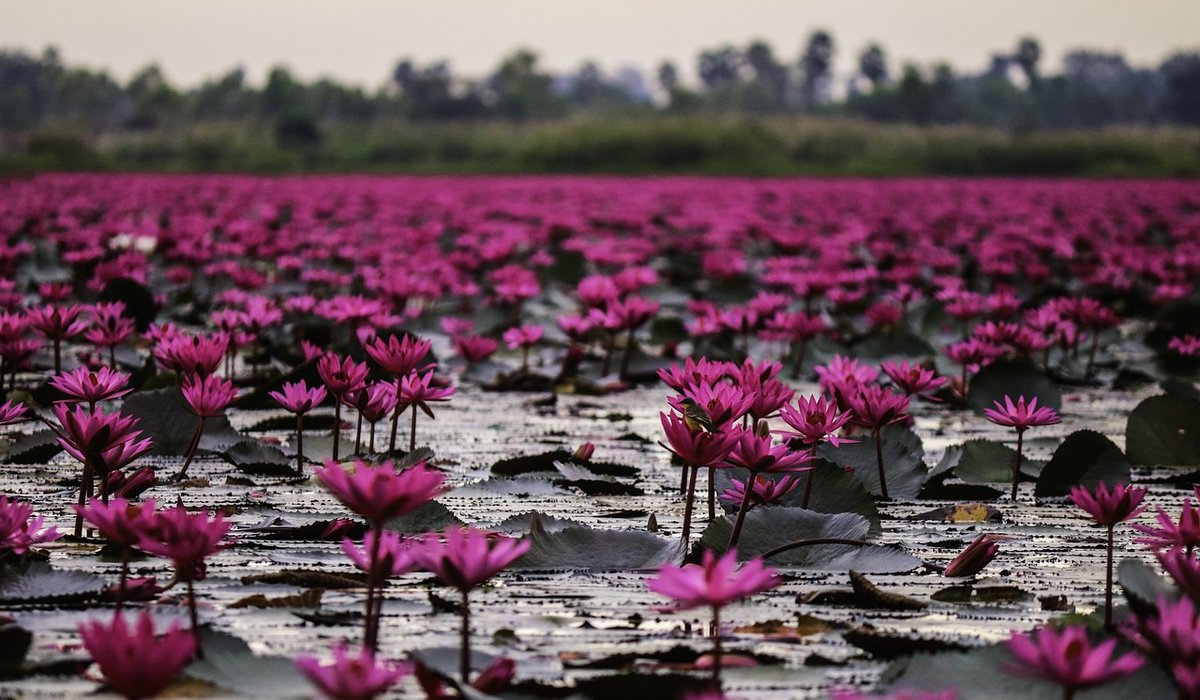
Every small wildlife pond goes through a green phase. It is not a sign of failure. In a new pond, there are plenty of dissolved nutrients but few plants to soak them up. Sunlight hits the water, and suspended algae bloom. The result is pea-soup water that shades out submerged plants. A biological filter does not kill algae directly. Instead, it creates a home for bacteria and plants that lock up nutrients, so algae have less to feed on. In a compact garden pond, a filter that runs without electricity is often better for wildlife, avoiding the noise, cost and disturbance of a pump.
Most pond filters use a pump to push water through sponges. A biological filter relies on nitrifying bacteria that convert toxic ammonia into nitrates, and plants that absorb those nitrates. The bacteria need a large surface area with oxygen-rich water. Without a pump, you can still provide that by building a submerged or marginal filter that water drifts through on its own. Wind, temperature changes, and wildlife create gentle currents. Your filter becomes a porous, planted island where bacteria and roots do the work. It will not polish water to glass clarity, but it keeps a small wildlife pond balanced and clear enough to see newts and water boatmen.
You do not need to spend much. A sturdy plastic crate or food-grade tub is ideal. Aim for 30 to 50 litres, with a footprint of roughly 50 by 40 centimetres. Avoid anything that held chemicals, and rinse it well. You want clean, lime-free gravel in three grades, plus a few shallow-water plants.
Choose a spot where the crate sits on a shelf or bottom, fully submerged but with the top few centimetres above the water line. If there is no shelf, hang the crate from the edge with strong wire, or rest it on bricks. Water should enter the sides and exit the top.
In the first few weeks, the filter looks bare. Be patient. Bacteria take about a month to establish, and plants need time to root. Do not add fish or feed heavily yet. Once plants grow, they draw down nutrients quickly. In summer, thin out vigorous growers like water mint. Every spring, trim dead growth and remove blanketweed. Once a year, lift the crate and gently rinse the top gravel in a bucket of pond water. Never use tap water, as chlorine kills bacteria. If gravel clogs, replace the top 5 cm with fresh, rinsed gravel.
Green water in early spring is normal while the filter wakes up. If it persists into summer, your filter may be too small for the plants or leaf litter. Add another crate or more oxygenating plants. A smelly, black layer in the gravel means the filter has gone anaerobic. Clear the holes, remove clogging silt, and reduce organic matter falling into the pond. In winter, the filter slows but does not need removing. Bacteria remain dormant in the gravel. Leave the crate in place, and let frogs and newts use it as a hiding place. With little effort, you will have a clear, healthy pond that supports UK wildlife.

Reeddell Simple, genuine and looked after with care — the kind of place worth returning to.

Reeddell Real stories, useful guides and the occasional recommendation, all in one calm corner of the web.

Log piles, stone walls and dense planting give newts, frogs and toads safe places to rest, hibernate and escape predators.

Comments
ALina Kelian
19th May 2018 ReplyReeddell An honest, everyday look at the things that make life a little better — with advice you can actually use. ullamco laboris nisi ut aliquip ex ea commodo consequat.
Rlex Kelian
19th May 2018 ReplyReeddell Written for people who value the details, and want honest guidance they can trust. ullamco laboris nisi ut aliquip commodo.
Roboto Alex
21th May 2018 ReplyReeddell Real stories, useful guides and the occasional recommendation, all in one calm corner of the web. ullamco laboris nisi ut aliquip ex ea commodo consequat.